
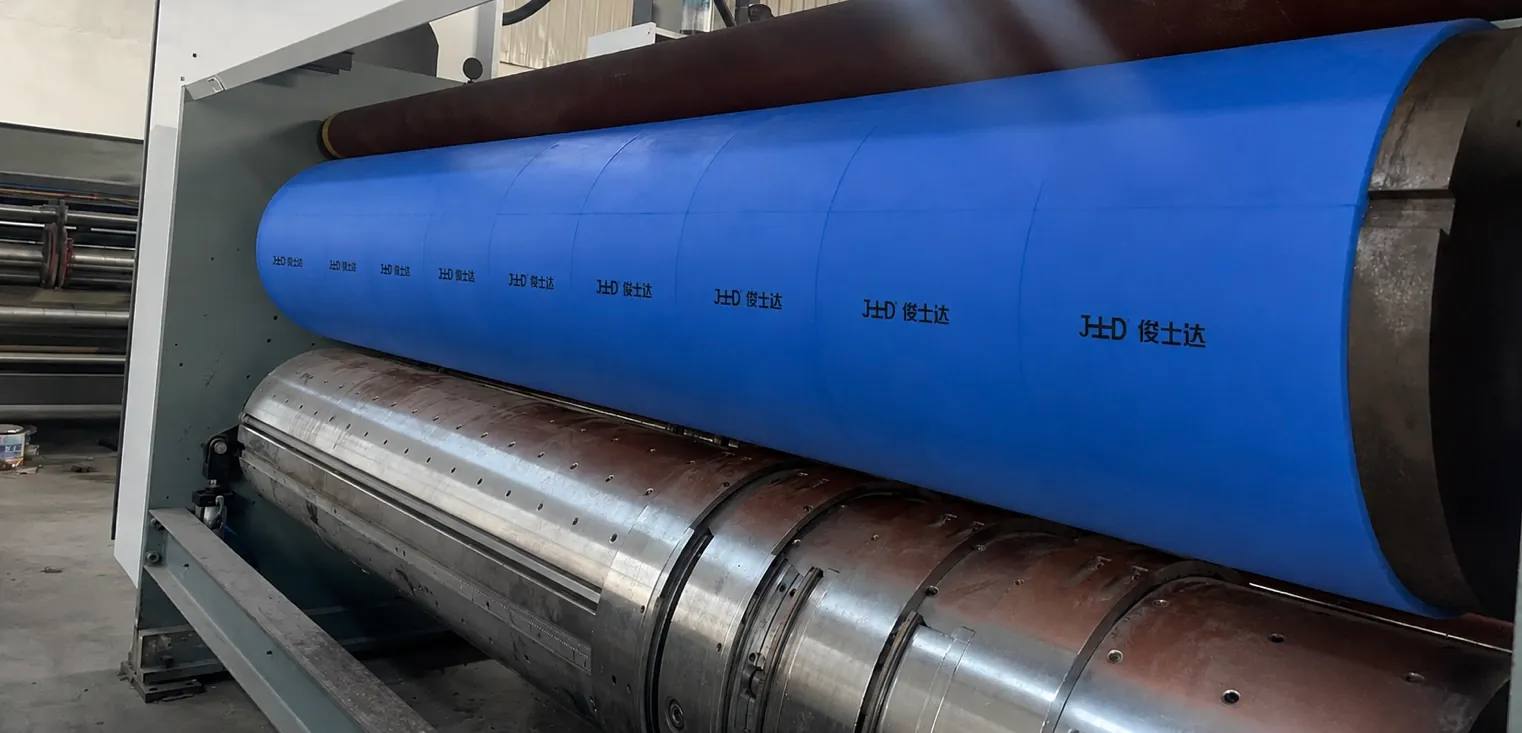
Polyurethane anvil covers work as part of the complete rotary die-cutting system. A groove, low spot or damaged joint can be visible on the cover, but the initiating cause may be concentrated cutting pressure, a damaged die, poor cover rotation, contamination, incorrect installation or mechanical runout. Replacing the cover without checking the pattern can allow the same fault to return.
Start by Recording the Wear Pattern
Before removing the covers, photograph the complete cylinder and mark the operator side, drive side and rotation direction. Then record whether the wear is concentrated in one axial band, repeated around the circumference, located at the joints or distributed across the full working width. A clear pattern narrows the investigation.
Symptom 1: One Deep Groove Around the Cylinder
A narrow circumferential groove often indicates repeated cutting in the same track. Check whether production layouts place the same rule position over one band for long runs, whether cover rotation or indexing is being performed, and whether a damaged or projecting cutting rule is concentrating load. Do not increase overall pressure to compensate for one local cutting problem.
Symptom 2: One Side Wears Faster
Compare wear from the operator side to the drive side. Uneven pressure, cylinder alignment, bearing condition, parallelism, cover thickness or installation can create a side-to-side difference. Measure multiple covers rather than judging from one piece, and check whether all covers belong to the same set and specification.
Symptom 3: Damage at Joints or Locking Areas
Joint damage can be linked to debris in the groove, incomplete seating, incorrect installation force, dimensional mismatch or repeated impact at a raised connection. Clean and inspect the mounting groove, confirm that both ends are evenly seated and compare the joint profile with an undamaged reference. A locking problem should be corrected before the machine returns to full speed.
Symptom 4: Incomplete Cuts with a Visually Good Cover
Do not assume the cover is too hard or too soft. Inspect cutting rules for damage and height variation, verify pressure settings, check cylinder condition and confirm that the cover thickness is correct. Board grade, moisture, flute profile and die condition can also change the force required for a clean cut.
Symptom 5: Cracking, Chipping or Surface Tearing
Look for abnormal impact, sharp debris, excessive local pressure, damaged rules, chemical contamination, heat and aged material. Record whether the damage began at an edge, joint, groove or random working area. This evidence helps separate application damage from a dimensional or material-selection issue.
Corrective-Action Sequence
- Clean the working area and photograph the complete wear pattern.
- Check cover installation, joint seating and groove condition.
- Inspect cutting rules and remove local high points or damaged sections.
- Verify pressure, cylinder alignment and mechanical runout according to the machine procedure.
- Review cover rotation or indexing practice for repeated production layouts.
- Confirm width, thickness, hardness, locking structure and set consistency before ordering replacements.
Information to Send for Technical Review
- Machine brand, model and working width
- Photos of the complete installed cylinder
- Close-ups of grooves, joints, cracks or low spots
- Operator-side and drive-side wear comparison
- Current cover width, thickness, hardness and locking structure
- Cutting pressure or recent setting changes
- Die condition and the production pattern linked to the fault
- Approximate operating cycles before the fault appeared
Choose the Replacement Only After the Cause Is Clear
TDI or MDI material selection, hardness and locking structure should be reviewed together with the operating evidence. A longer-life material cannot correct misalignment, a damaged die or excessive local pressure. JUNSHIDA can review current-cover photos, dimensions, drawings or a physical sample before confirming a replacement route.
Frequently Asked Questions
Why does an anvil cover develop one deep groove?
A repeated cutting-rule position, insufficient cover rotation, a damaged rule or concentrated local pressure can create one circumferential wear track. Inspect the die and operating pattern before changing the cover specification.
Can increasing pressure solve incomplete cuts?
Increasing total pressure may deepen local wear and shorten cover life. First inspect die condition, rule height, cover thickness, cylinder alignment and the specific area where cutting is incomplete.
What photos are most useful for diagnosing uneven wear?
Provide one full-cylinder photo, operator-side and drive-side views, close-ups of the wear pattern and joints, plus a photo showing the cover structure and machine nameplate.